Installation Instructions
Below is a step-by-step set of instructions and some video's on Installing the Microconic Cartridge In Machine.
There is a download link at the bottom of the page.
There is a download link at the bottom of the page.
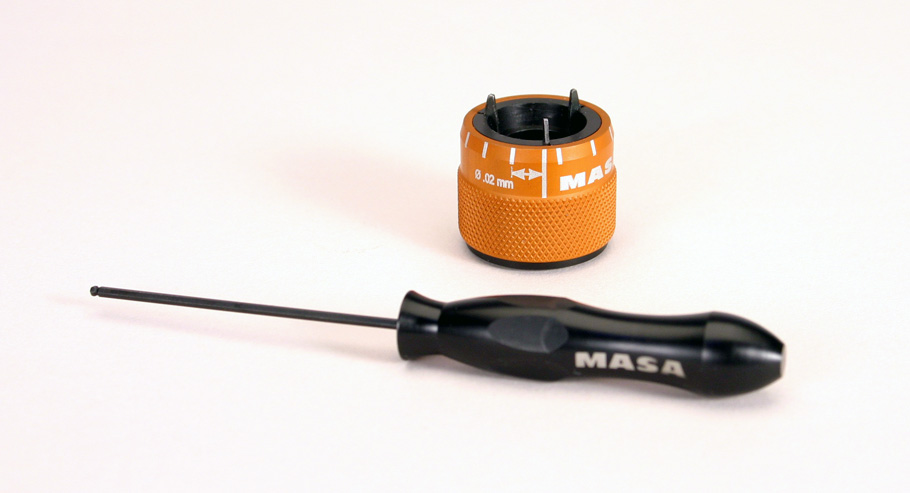
Tools required for Installation
|
Other than some standard shop tools, everything you need to install the Microconic system on your machine is supplied with your order.
|
Instructions for both Regular and Over-grip collets
unless otherwise designated
1. Put machine in safe state for changing of collet
|
|
|
2. Remove spindle nose cap and collet
|
|
|
3. Remove spring
|
|
IMPORTANT NOTE: The spring will interfere with proper function of the Microconic cartridge. It is critical that it be removed. |
4. Clean spindle taper
|
|
IMPORTANT NOTE: Never blow air into the spindle as this could force debris into the closing mechanism on the machine. |
5. Clean Microconic cartridge
|
|
|
|
|
|
6. Insert Sleeve and Microconic cartridge into spindle
|
|
|
7. Install spindle nose cap
|
|
|
8. Adjust collet closer
|
|
Adjust machine collet closer for medium force when in “closed” state. Set adjustment by the standard method for the machine.
IMPORTANT NOTE: The actual collet force will be controlled by the Microconic cartridge. |
9. Insure proper Operation
|
|
|
10. Put machine in “closed collet”state
|
|
|
11. Verify Concentricity
|
|
The Microconic cartridge is precision ground to gage-like tolerances.
|
|
|
IMPORTANT NOTE: The actual collet force will be controlled by the Microconic cartridge. If you still have a runout issue, after recleaning and re- installing, please contact your machinery dealer so they can inspect your machine's spindle as this could indicate a machine problem. |
12. Insert Microconic collet into cartridge
|
|
12 - A
|
12-C though 12-F: Instructions for OVER-GRIP ONLY
Skip to section 13 for regular collets
|
|
12 - C
|
|
|
12 - D
Follow manufacturer’s recommended procedures.
|
|
|
12 - E
|
|
|
12 - F
Follow manufacturer’s recommended procedures.
|
This section applies to both Over-grip and Regular collets
13. Tighten Microconic collet to working diameter
|
|
|
14. Adjust collet force
|
|
|
|
|
IMPORTANT NOTE: For a firm grip on solid workpieces typically a closure of about .08mm (.003”) is a good starting point.
CAUTION: DO NOT TIGHTEN MORE THAN .14mm (7 graduations with metric wrench) or .005” (5 graduations with inch wrench).
|
15. Tighten adjustment lock screw
|
|
CAUTION: Never leave Micrograd wrench or the Hex Key Wrench inserted in the cartridge – remove it immediately.
|
CAUTIONS:
- Never attempt to hand load a gage or workpiece into the collet when it is open. If it gets caught in the slots while closing, the collet will be damaged.
- Reliable part ejection is critical. Collet damage will occur if a workpiece is not completely ejected. If needed, use the supplied Microguide EGS ejection guide sleeve blank to help guide the part out of the collet (see following instructions). Initially validate the reliability of part ejection by programming a cycle stop to allow operator to 100% verify that the part is properly ejected.
- Swarf/chip control is critical. Parts that are wrapped with chips on the gripping surface can damage or break the collet if chucked on. Initially use a programmed cycle stop to allow operator to verify that the workpiece is free of chips prior to clamping.
- Tight control of the work piece diameter is important. It is best to hold +/- 15μm (+/- .0006”) diameter in the gripping area to prevent undesired variation of gripping force.
Removal Instructions
|
1. Put machine in safe state for changing of collet
|
Follow manufacturer’s recommended procedures. Microconic collet should already be installed in cartridge per prior steps.
|
|
2. Loosen adjustment lock screw
|
Back out 1 turn maximum. Use supplied hex key wrench.
CAUTION: Never leave wrench inserted – remove it immediately. |
|
3. Remove Microconic collet
|
Use supplied collet wrench. Unthread collet from cartridge.
IMPORTANT NOTE: the CNC machine MUST be in and OPEN collet state to remove the collet. |
|
4. Done!
|
Ready to install another Microconic collet as needed.
|
|
Last edit: 29 June 2018
|
| ||


